Friday, 11 December 2015

Rice Pudding Cake

As things start to get a little chilly here, and we are about to start the olive harvest too, I always feel the need for food a little more on the substantial side.

This is a recipe from Two Greedy Italians aka Antonio Carluccio (my hero) and Gennaro Contaldo.  I loved this programme, of course because of both their personalities but also because so much of the food was just so very honest and simple and tasty.

This recipe uses a lot of eggs - at the moment I am getting near enough 6 a day so I love recipes that are heavy on eggs.


Ingredients:  3 pints of milk (1.7 litres); 1 vanilla pod (I used a teaspoonful of vanilla paste); 1/2 lemon, zest only cut into large pieces (I used a zester and did not remove the lemon zest later); 7oz (200g) sugar; 10 1/2 oz arborio rice (300g); 5 large free range eggs, separated; 2floz (50ml) orange liqueur; 1 1/2 oz raisins (40g) I used double the amount and made half moscatel sultanas and half pre soaked dried figs (from Finca La Reina of course); 1 orange, zest only grated.

Dried figs chunks soaking

Method:  Preheat the oven to 180C and grease and line a 24cm (10 inch) loose bottomed cake tin with greaseproof paper.  I actually forgot to grease the sides but I did cover the base with paper.  It stuck to one tiny bit of the side of the tin, it could have been a lot worse... you should try not to forget to grease the tin.

Place the milk, vanilla pod (if using paste like me add it later when the mixture has cooled and you add the egg yolks), lemon zest and sugar into a large saucepan and bring to the boil.  Add the rice and then lower the heat and simmer gently for about half an hour or until it resembles a nice thick creamy rice pudding.  The original recipe says the rice should be al dente - or still have a little bite to it.  Mine was well and truly cooked but it hasn't affected the finished cake.


Remove from the heat and leave to cool.  At this point you should remove the vanilla pod (if using) and also the lemon zest chunks - unless they are nice and thin strips like mine were in which case I think its a matter of choice.  I transferred the rice pudding to a bowl to help it cool and added the fruit.


The original recipe says to whisk the egg yolks and liqueur until creamy.  I simply added them to the cool rice pudding along with the orange zest and orange liqueur and then stirred really well.


In another bowl, whisk the egg whites until stiff.


 Then fold in the egg white and put into the tin.


This is simply a HUGE cake but don't worry if it comes right up to the top of your cake tin, it doesn't rise very much at all and shouldn't spill over.


Bake in the oven for one hour.  When it first comes out of the oven you will see that it has risen quite a bit.


But it starts to collapse as soon as it begins to cool.  That's what its supposed to do.


It can be served warm or cold sprinkled with a little orange zest (although it is already very rich I might add a dollop of cream too!)


 Enjoy Enjoy Enjoy!


Thursday, 3 December 2015

Baked Apples in the Estufa

You don't need an old fashioned oven to make these, but I associate them with encroaching winter, and evenings in front of the wood burning stove.  Having an oven on top of the wood burner is just a fabulous way to make an evening snack without too much effort and certainly without using any more energy.


First get your baking apples.  Here in Spain I have not been able to find anything other than these...


My fruit man says they are called Reineta (Little Queen) and they are for baking.

Score them around the middle and then take out the core.


Put them into an oven proof container and fill the core space with a little brown sugar (I used demerara) and in fact it doesn't have to be brown sugar, it could be white.  Add some dried fruit and a few little blobs of butter.


Bake in the oven until you can see the skin of the apples start to pull away exposing the soft fleshy midriff.  Insert a sharp knife to make sure the apples are cooked all the way through.


You need to remember that there is a very fine line between perfectly cooked and exploding apple.


 I don't always manage to catch it before it explodes but of course because I was taking photo's this time I watched them very carefully.  All you need now is a dollop of cream or even custard if you are feeling like making it.  Enjoy!  We did!


Sunday, 15 November 2015

White Fish Chowder/Stew

I am not a huge fan of the fish but there are some fish dishes that just blow me away.  This is one of them.  Its a cross between a fish stew and a chowder... it has a creamy sauce and the fish is in large chunks and although we eat it with rice, it doesn't actually need anything more than chunky bread and a salad... oh and it's cooked all in the one pot so very little washing up!

Ingredients:
A little sunflower oil, 1 onion chopped finely, 1 leek chopped finely (or peppers or celery), 2 large sweet potatoes cut into small dice, half a dozen small new potatoes cut into small dice, 3 green or unripe bananas (or platanos if you live in Spain) sliced into chunks, a wineglass of white wine, half a pint whole milk, quarter of a pint single cream, a pint of vegetable stock, 2 or 3 filets of any white fish - cod or hake is excellent - skin removed and chopped into rough chunks.  To garnish: spring onions sliced finely or parsley chopped fine and a dash of lime juice.

Method:
Saute the onion in the olive oil until soft but not coloured.  Add the leek (or the substitute peppers or celery) and continue to cook over a low heat until all is quite soft.


Add the diced potatoes - both sweet and new.  Continue to cook on a low heat until the potatoes start to soften.


Add a wineglass full of any white wine you fancy and ramp up the heat a bit.  Scrape the base of the pan to get any stuck on bits of veg loose.


Next you add the stock and the cream.  Now if you were to use fish stock the end result would be much fishier in flavour than if you use veggie stock... its up to you... all I had in the cupboard was chicken stock and it didn't make that much of a difference.


Add the unripe bananas (if they are a little soft then you can add them at the same time as the fish) and then simmer on a low heat until the potatoes are all nice and soft.  I put a lid on the pot to stop too much liquid evaporating but you can cook it without a lid... just keep an eye on it to make sure it doesn't reduce too much.  You might get a froth from the cream rising to the top, you can ladle this out if you prefer but I just stir it back in and don't worry about it.


 Once the veg is well and truly cooked and the sauce is nice and thick add the fish.  I would usually skin the fish first but I was in a rush today and I totally forgot.  Its not too much of an issue to remove the skin once its on your plate.


Simmer the fish in the stew for around about 15 minutes.  You don't need any more than that or your fish will be tasteless.


Taste the stew and adjust seasoning.  You will probably need salt - although I have popped a couple of anchovies into the stew at the simmering potatoes stage and that not only adds flavour but salt too.  A good pinch of black pepper is also needed.  If you wish to garnish, by all means add some fresh parsley or chopped spring onions and a squeeze of lime juice.  Ladle into your bowls and tuck in!

Saturday, 24 October 2015

Drying Mushrooms!

It's autumn, and what do you get fresh from the fields after the rain?  Yes of course you do... Mushrooms!  OK... well in spite of having loads of field mushroom lookalikes on our finca we have bought our mushrooms from the supermarket.  This is a precaution.  Firstly.... I have been mushrooming for field mushrooms in the UK since I was a child.  I am very happy spotting a field mushroom and very confident about eating them.  But here.... I looked at all the mushrooms popping up and although at first my heart leapt and I thought... yippeee... very soon after I had a nagging doubt.

The mushrooms appear to be your common old field mushroom but this is rural Spain.  Lots of very strange mushrooms pop up on our finca and I am filled with doubts.  So... not to worry... I'm not an expert and I am happy to admit it... I don't want to poison myself or my family... so its off to the supermarket where the season is reflected in the prices.

A couple of packs of Setas - Wild Mushrooms - a couple of euros and I have peace of mind as well as yummy food.


The mushrooms are ripped apart into roughly similar sizes and then I hang them up in net bags (rescued from onions at some point in the past) on the veranda to dry.


At night they are brought into the kitchen and then put out again in the morning.  Its rained a bit these last few days so they may take as much as a week to dry.  Once they are very very dry - like cardboard,  I will put them into a jar and keep them for use in stews and soups over winter.  They can be reconstituted by adding hot water and leaving them to soak for a little while and then they can be used almost like fresh mushrooms, except you might notice that the mushroom flavour becomes stronger after drying.  They can even be blitzed into a powder which is a wonderfully flavourful addition to a meal, without using a lot of mushrooms to achieve it.

Now, we have a very dry atmosphere here in South West Spain, its only really during January or February that it is too wet to air dry stuff.  If you live somewhere wetter then you might want to dry them in the airing cupboard, on the aga, above a radiator or even in a very low oven for several hours.  It all works.  Just make sure they are totally dry before storing or they will go mouldy.

Sunday, 18 October 2015

Chestnuts!

Last year when I went to the market before Christmas expecting to find chestnuts I was disappointed.  Not a one... nada... nowhere, not at the market and not in the supermarket either.  Well you don't find things like tinned chestnuts here in Extremadura... at least not often.  So... this year as soon as I spied them in the shops I bought them...


Enough for stuffing the turkey anyway.  I would have liked to be roasting them in our new bbq or bread oven but alas that is not to be ... not yet anyway so I prepared them as follows:


Score each chestnut with a cross or a slit all the way around.  Even using a very sharp knife this isn't a fun job.  The nuts wont hold still.  The shells are really tough and my fingers were quite sore by the end of it... I kept myself going by thinking of the turkey stuffing.


Spread them out on a baking sheet in a single layer then put them in a preheated oven 180C for about half an hour.  How to tell that they are done?  Blimey, I don't know, after half an hour I took them out and sniffed - they smelled cooked.


I wrapped them in a tea towel to keep the skins moist and let them cool for a few minutes.  But only a few minutes mind.  Its best to peel them while they are still slightly warm as the skins harden up even more once they go cold.  It hurts the fingers a bit but you could always wear gloves I guess.


A few of them are not quite cooked enough but not many... just one or two.  So next time I might go for 35 or 40 minutes in the oven.  It won't hurt, I don't think you can overcook them at least not until they go totally black and burned.


Then into a freezer bag and in the freezer.  One less thing to worry about for the festive season.

Sunday, 11 October 2015

Mexican Style Breakfast

I cannot claim to have made this one up as the whole idea came from Jaime Oliver and if you would prefer to see his version then do click here.  As always with me I have a habit of not following recipes exactly.  When I do they turn out just as they are supposed to but if I don't have all the ingredients to hand but enough of them and with suitable substitutions I will go ahead anyway.  I am seldom disappointed with the results.

And so it was with my Mexican style breakfast....


I haven't seen any tins or jars of black beans here - it's Spain, there should be such things but perhaps the supermarket where I shop is not a very good one?? who knows... but you can buy the dried beans so I began my version the day before when I soaked the beans for several hours and then cooked them in my pressure cooker.  The pressure cooker really takes the hassle and time out of cooking dried beans and I definitely would recommend it.

So in the morning I whizzed up a couple of avocado's and added some lemon juice and fresh home grown chopped chillies.  As it turned out the chillies were not really very hot... I can't bring myself to try them before putting them into food so its always a bit of a guessing game with me.


I fried the beans.  This time I actually heated my pan first before adding the olive oil and then the beans... it worked very well.. much better than how I usually do it.  I think I always thought it would ruin the pan... !  Once the beans were a little frazzled on the edges I cooked the omelette with a little cheese inside.  Much thinner omelettes than I usually do... and they rolled up really well.

I served the omelette and beans and avocado with some chopped tomatoes (at room temperature, this is soooo important) garnished only with a little salt.  Really really good.

Tuesday, 8 September 2015

Apple and Chilli Jelly

After a very long summer of no posting I am happy to say that I have managed to co-ordinate the camera and the cooking process... at least enough to document something I haven't made for a long time but always remembered fondly... fondly enough to want to do it again.

In the UK I made this with foraged crab apples and home grown chillies.  It became a family favourite and cheese was never quite the same without it.  Here in Spain cheese is served with membrillo (a kind of quince cheese) and it is delicious, especially if home made, but I really hankered after my old favourite so....

Firstly, I forgot which recipe I used.  So I found one in this book.....


... Which I thought was probably the one, it had some pencil notes about doubling quantities and cooking times for larger batches, so I guessed it was likely the one.

Ingredients:
1kg tart apples - I used Granny Smiths.
1.5 litres water
50ml cider vinegar
2 cinnamon sticks
1 and 1/2 cups granulated sugar
2 Cinnamon sticks
1/2 teaspoon whole cloves
4 whole red chillies (this is an extra that I add to give it a bit of a kick)

(I apologise for the measurement of sugar being in volume rather than weight - I hate using volume, I find it is so inaccurate, but that is how the recipes are in this particular book - being aimed at the American market)


Method:
Put the apples, water, vinegar, cloves, cinnamon and chopped chillies (I included the seeds but its up to you if you do or not) into a large pan, cover and bring to the boil, reduce the heat to a gentle simmer and cook until the fruit is very soft - soft enough to push through a sieve.


When cooked, strain it through a sieve first to remove the solids and then through a jelly bag to extract the juice.  Return this juice to the now cleaned pan and add the sugar.


Bring to the boil and boil rapidly until setting temperature is reached and then continue to boil until you achieve a 'gel'.


A jam thermometer is indispensable to ensure that you get a good set on the jelly.


To check that it is set I usually put a saucer into the freezer until its very cold and then put a teaspoonful of hot jam onto the saucer, replace in the freezer for a minute or two and then check it to see if it crinkles when disturbed by your finger.  As soon as it does, its ready to pot.  Sterilise your pots in boiling water and drain and dry in a warm oven.  Pour in the hot jelly and pop on the lid....


I know the book is called Small Batch Preserving but this really is a very small batch.  I think I boiled it a little longer than necessary but even so it still wouldn't have made much more than one pot, now I see why I marked on the page that I should double the quantity....

and then.... I found a piece of paper stuffed into the back of another preserving book with my favourite recipe - which is basically the same but the quantities are much larger and it also suggests that you make Apple chilli butter with the pulp - I had already put mine on the compost, but perhaps next time.  It was delicious and the little pot has already been used up with cheese for afternoon snack!


Wednesday, 4 March 2015

Really Easy Economic Cream of Mushroom Soup


Mushrooms have a very strong flavour so it is really easy to make a little go a long way.  Here I am using whole mushrooms but did you know that you can make a bowl of soup from just the stalks?  Yes that's right... just the stalks.  If you are the kind of person who habitually chops off the stalk and chucks it away then you might consider trying this in the future.


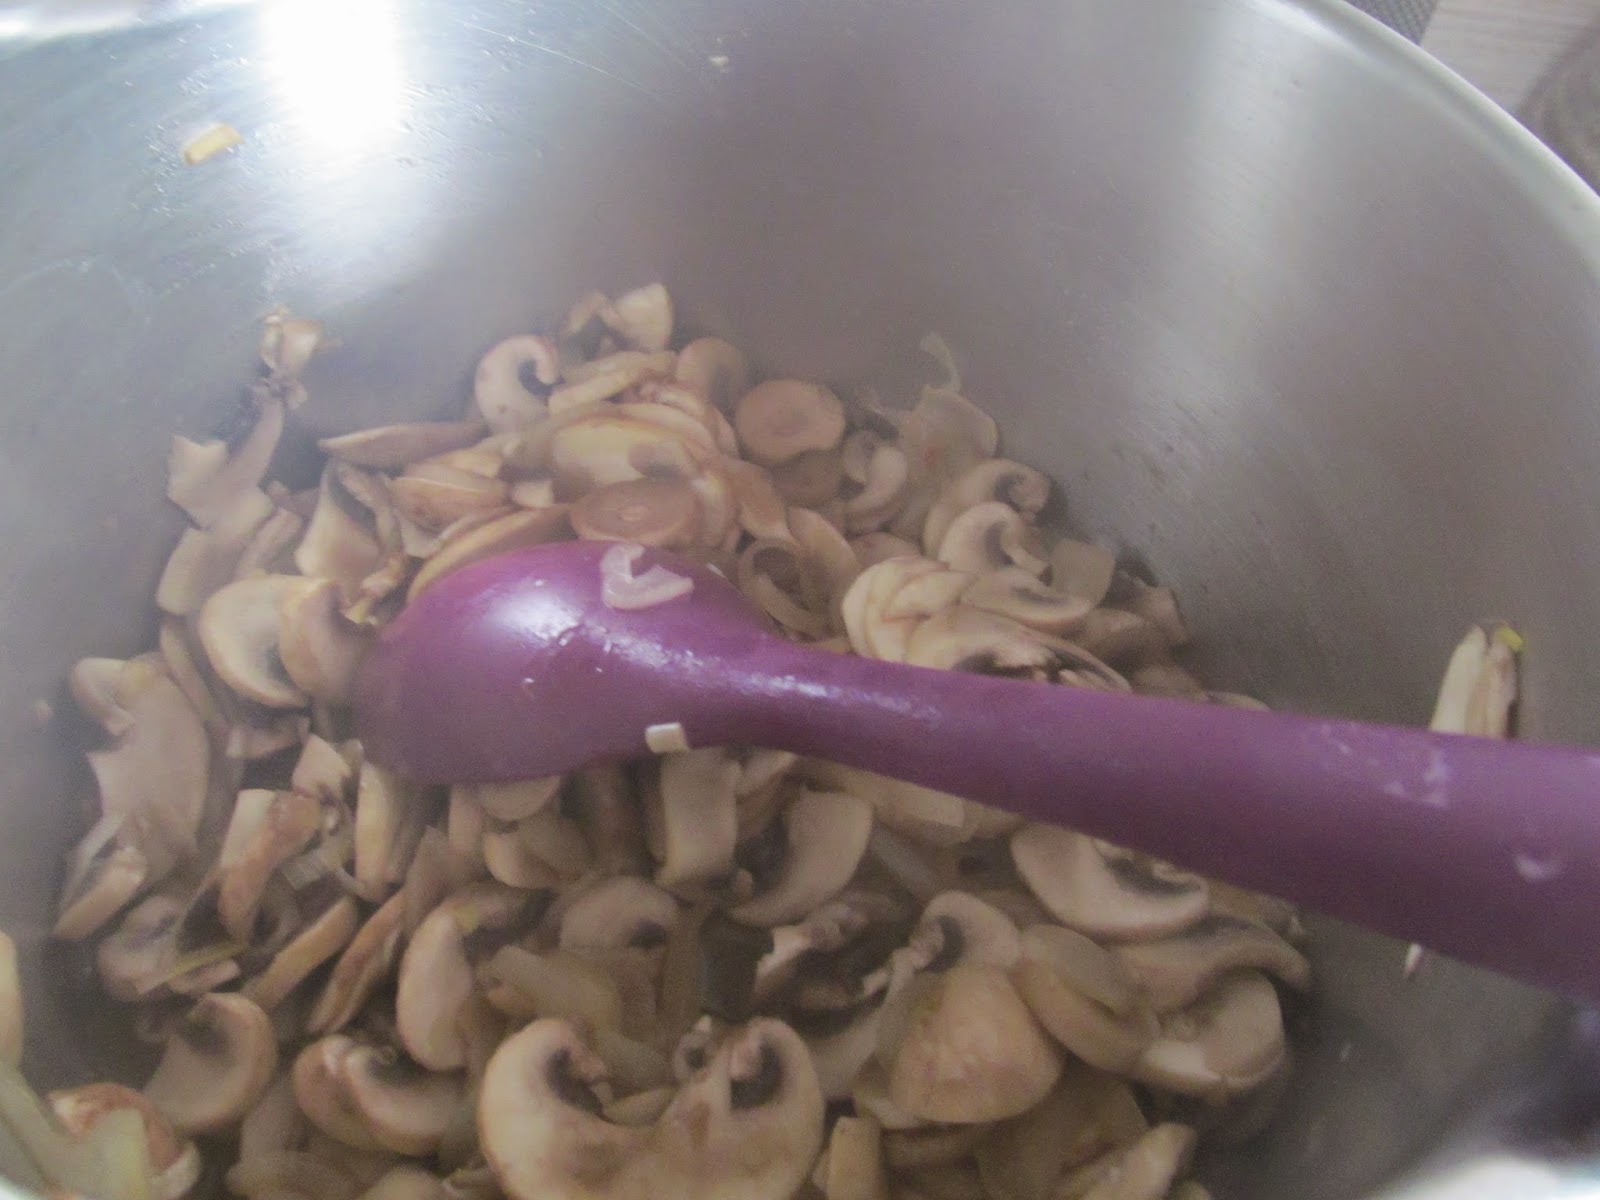
Chop up your mushrooms (or your mushroom stalks).  Here I have taken the dirty bit off the end but kept most of the stalk on.  I haven't peeled them either... you lose a lot of vitamins if you peel them.  A wipe with a damp kitchen towel should be enough to dislodge any dirt that is clinging to them.


Chop up some onion and fry it gently in a little vegetable oil - or whatever you have in the cupboard.  When the onions are soft add the chopped mushroom (or mushroom stalks) and sweat them down a bit with the lid on.  When the mushrooms are cooked but not mushy add some stock (veggie, chicken beef ... whatever) or plain water if you don't have any stock to hand.  How much?  Well it depends upon how many mushrooms or mushroom stalks you have ... if you are only using stalks you might want to just make enough for one bowl of soup... so you will have to judge.


Put the lid back on and simmer it for about 20 minutes on a low heat.  Remove from the heat and whizz it up in a liquidiser or using a hand whizzer until it is creamy and smooth.


Finally add some single cream or the top of the milk (do we get the top of the milk these days?... you don't here in Spain - at least not where I live, but you do get a uht cooking cream which works a treat).  Season to taste, if it has cooled then warm it through again but try not to let it boil.  Remember a soup boiled is a soup spoiled!


PS.  If you made a very small amount using the stalks, instead of turning it into soup you can use it as gravy or as an enhancement to a meat gravy... added to a casserole, pie... whatever you fancy.  Leave out the cream but add a dash of Lea and Perrins or even a splash of ketchup or brown sauce - delicious vegetarian gravy!